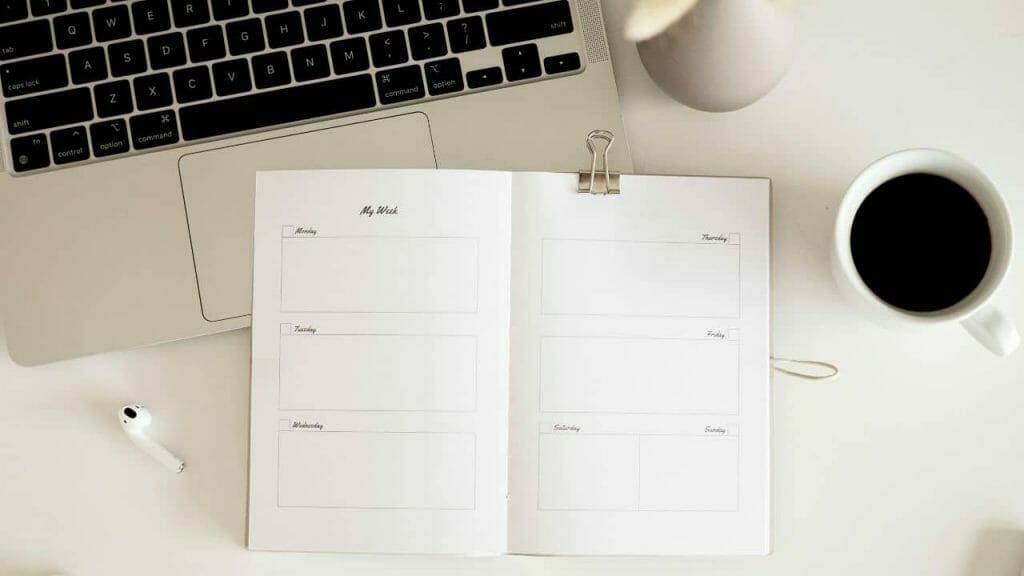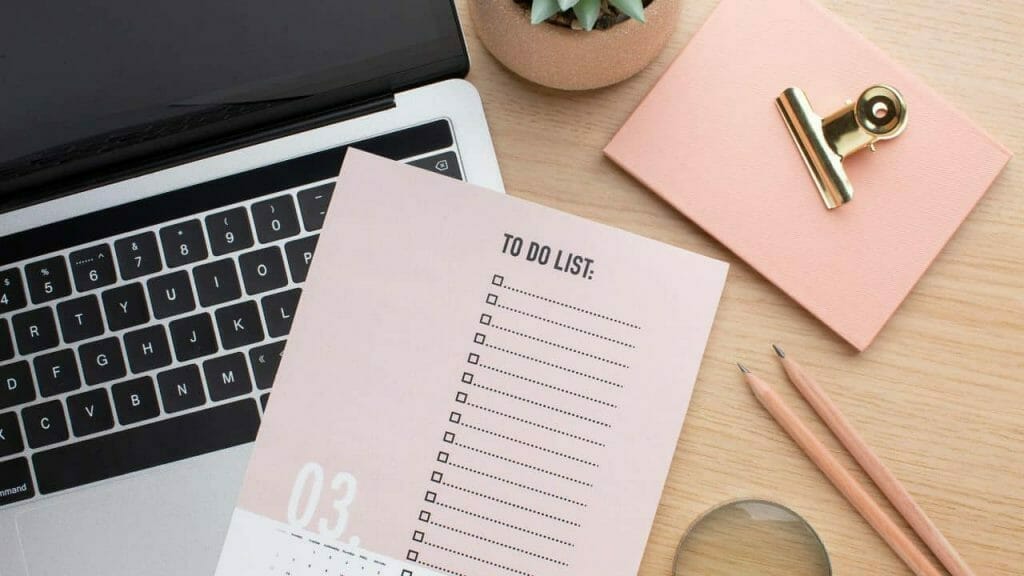
In our busy world, we all need a little help staying on schedule and a place to note things that might slip our minds. Planners are the perfect all-in-one way to keep on track and perfect your time management. As a creative and affordable solution to purchasing a pre-made planner, why not print your own planner?
The benefits of printing your own planner include full creative control and the ability to personalise your planner to suit your needs. But while it’s a great idea, printing your own perfect planner can be a tricky process that needs a lot of planning. That’s why we’ve compiled this guide, so you can pick up some great tips.
Step 1: Decide on Your Format
Before you print your planner, you should have a good idea of what you want the final product to look like. The easiest way to finalise the design of your planner is to export it to PDF, so you can see how the printed pages will appear. This will also have an effect on the way you format your planner in preparation for printing.
For example, if you’d like an A4 planner, your page designs need to fill an entire page of A4 on your PDF document. Or, if you’re opting for an A5 planner, you can double up the designs on a single PDF page and save paper when you’re printing. Remember, the format you choose to print your planner pages in will also affect the way you bind your planner. If you’re using a ring binder, you’ll need thicker margins so you can hole-punch the edge of your pages. However, if you’re binding your planner traditionally, you’ll need to match up the pages so that they’re in the correct order when you layer them.
Step 2: Choose Your Paper
The type of paper you use for your planner will have a big effect on the finished product. Not only does paper affect the way you bind your planner, it determines the final finish of your designs, and how easy your planner is to use. A 90-120 GSM paper is a sound choice, as it will hold a lot of colour well, and do justice to your designs. Not to mention, it will allow you to write on the paper over and over again with no damage to the designs, once your planner is printed. For extra effect, opt for paper that’s finished with gloss or matte covering for a beautiful planner cover, too. If you’d like to know more about the different kinds of paper and what they can offer your planner designs, why not check out our helpful guide to GSM paper weight here?
Step 3: Print Your Planner
Top Tip: do a test print first to ensure everything looks as it should after printing. To do this you need only select and print a few pages of your design first, and then you can make any necessary formatting changes.
An at-home printer is perfect if you’re printing a planner for personal use. Alternatively, if you’d like to sell your planner designs, your customers will greatly appreciate higher-quality printing. This is where our professional printing service comes in. Our planner printing will help your designs pop on the page and provide your customers with superb planners that they’ll be proud to own. We offer a range of printing packages to suit businesses at all stages of their growth. We’ll stand by your side as dedicated and reliable printing partners if you’re just starting to market your planners. Or, if you need large bulk orders, we’ve got you covered with some excellent pricing structures.
Planner printing with Doxzoo, check out our comprehensive range of printing services here. If you have any questions about how our professional printing can benefit you, our team of experts is here to help.
Looking for a reliable printing company?
Get an instant quote