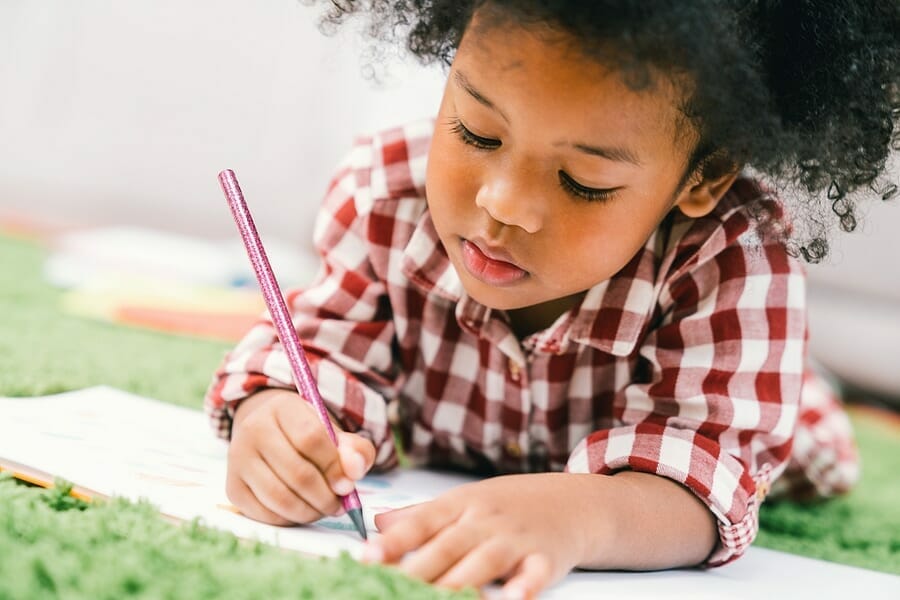
As if keeping the kids active and entertained during the lockdown wasn’t enough, the school summer holidays are here now too. With a lot of activities still out of bounds for many, and with the British weather being as unpredictable as usual, what can we do to keep the kids busy?

There are so many adventures both parent and child can engage in, and The Scotsman has a fantastic list of activities for kids, but every parent knows the key to getting kids to quietly get on with something is to give them a colouring book!
Have you thought about making your own colouring book? It’s easier than you think, and you can make it specifically for your child with their favourite pictures to colour in. Here are our tips for creating your very own colouring book.
Determine Size and Alignment
There needs to be a little planning before you get going. First, you need to think about how big you want your colouring book to be. You can make it any size you like, but A4 might be easiest for scanning and printing at home.
Alignment might be worth considering, for example, having a book of mixed landscape and portrait images might be jarring to anyone flipping through it. Try to have each picture in the book either vertical or horizontal.
Choose a Theme
Here is where you can explore with all the artistic freedom you want. Find a theme that works for your kids, or one that inspires you, and start designing the pages.
Pro Tip: To begin with, keep it simple. Start with about five pages, and see how you go. It doesn’t have to be a mammoth 50-page monster!
Plan for the Medium
If you know your book is going to be coloured in with markers or felt tips, then don’t make your pages double-sided as the pigment of the marker will show through, spoiling the backside.
It can also make a difference in your designs. For example, coloured pencils and markers can be much more precise than watercolours or poster paint, so your designs may need to have thicker or thinner lines or less intricate detail.
Once your designs are planned, here’s how to draw and build your colouring book.
1. Start Drawing
Colouring books are made of bold black and white pages, which means if you’re working by hand, a large tip pen or black marker is ideal for creating your pages, but nothing is stopping you creating images digitally too.
Confident artists will likely start drawing freehand, but many people prefer to begin with a pencil sketch before committing to markers or felt tips. Once the ink has dried, erase any pencil lines with a soft eraser.
2. Scan
When you have enough pages, then it’s time to scan them. If you worked on A4 paper, then any domestic scanner/printer will be able to handle the drawings and transfer them to your computer.
3. Print
You may want to clean up any images on your computer first, but once you’re happy with your collection, then it’s time to print.
You can print at home, but if you’d like to add a professional finish, you can print colouring book with expert printers online!
Looking for a reliable printing company?
Get an instant quote